Ecommerce Platforms
Custom Integrations
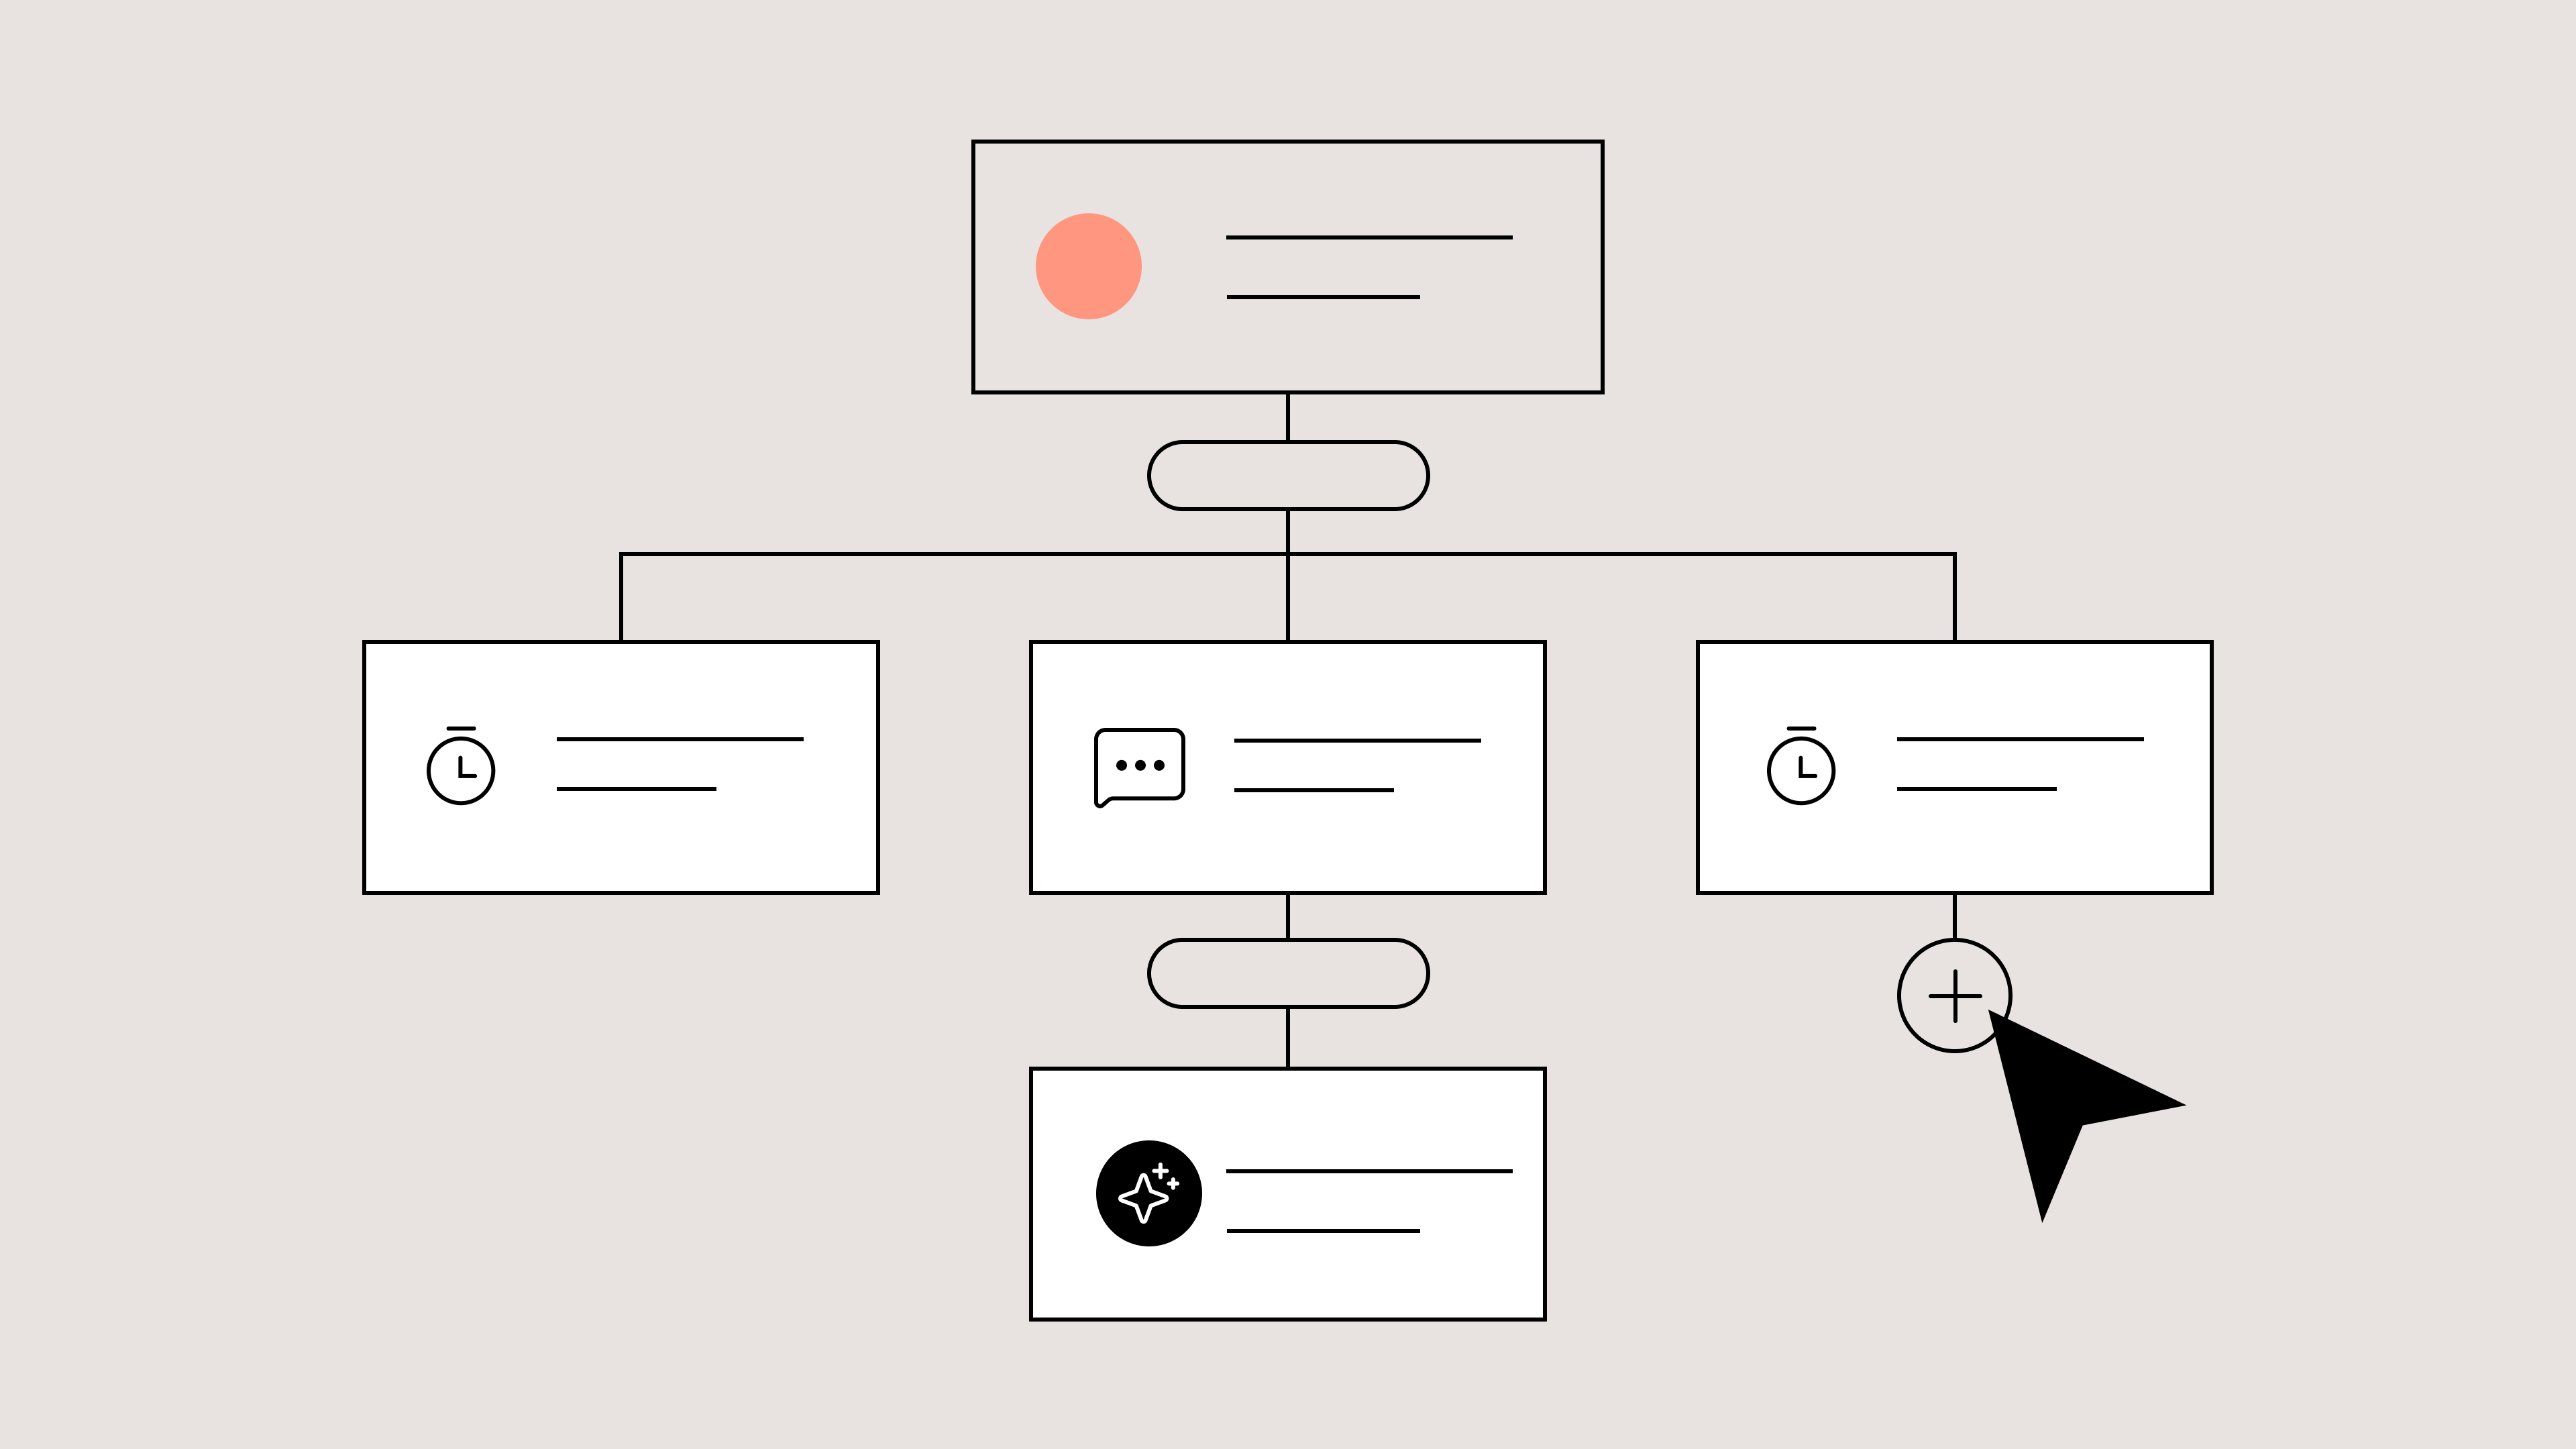

Gorgias AI Agent is an extension of your team. Just like a new support agent, AI Agent can:
While AI Agent instantly resolves your repetitive support volume (on email, Contact Form, and Chat), your team is free to focus on high-impact conversations, VIPs, escalated tickets, CX strategy, and all the other important projects that you’ve had to deprioritize because you've been busy answering routine tickets.
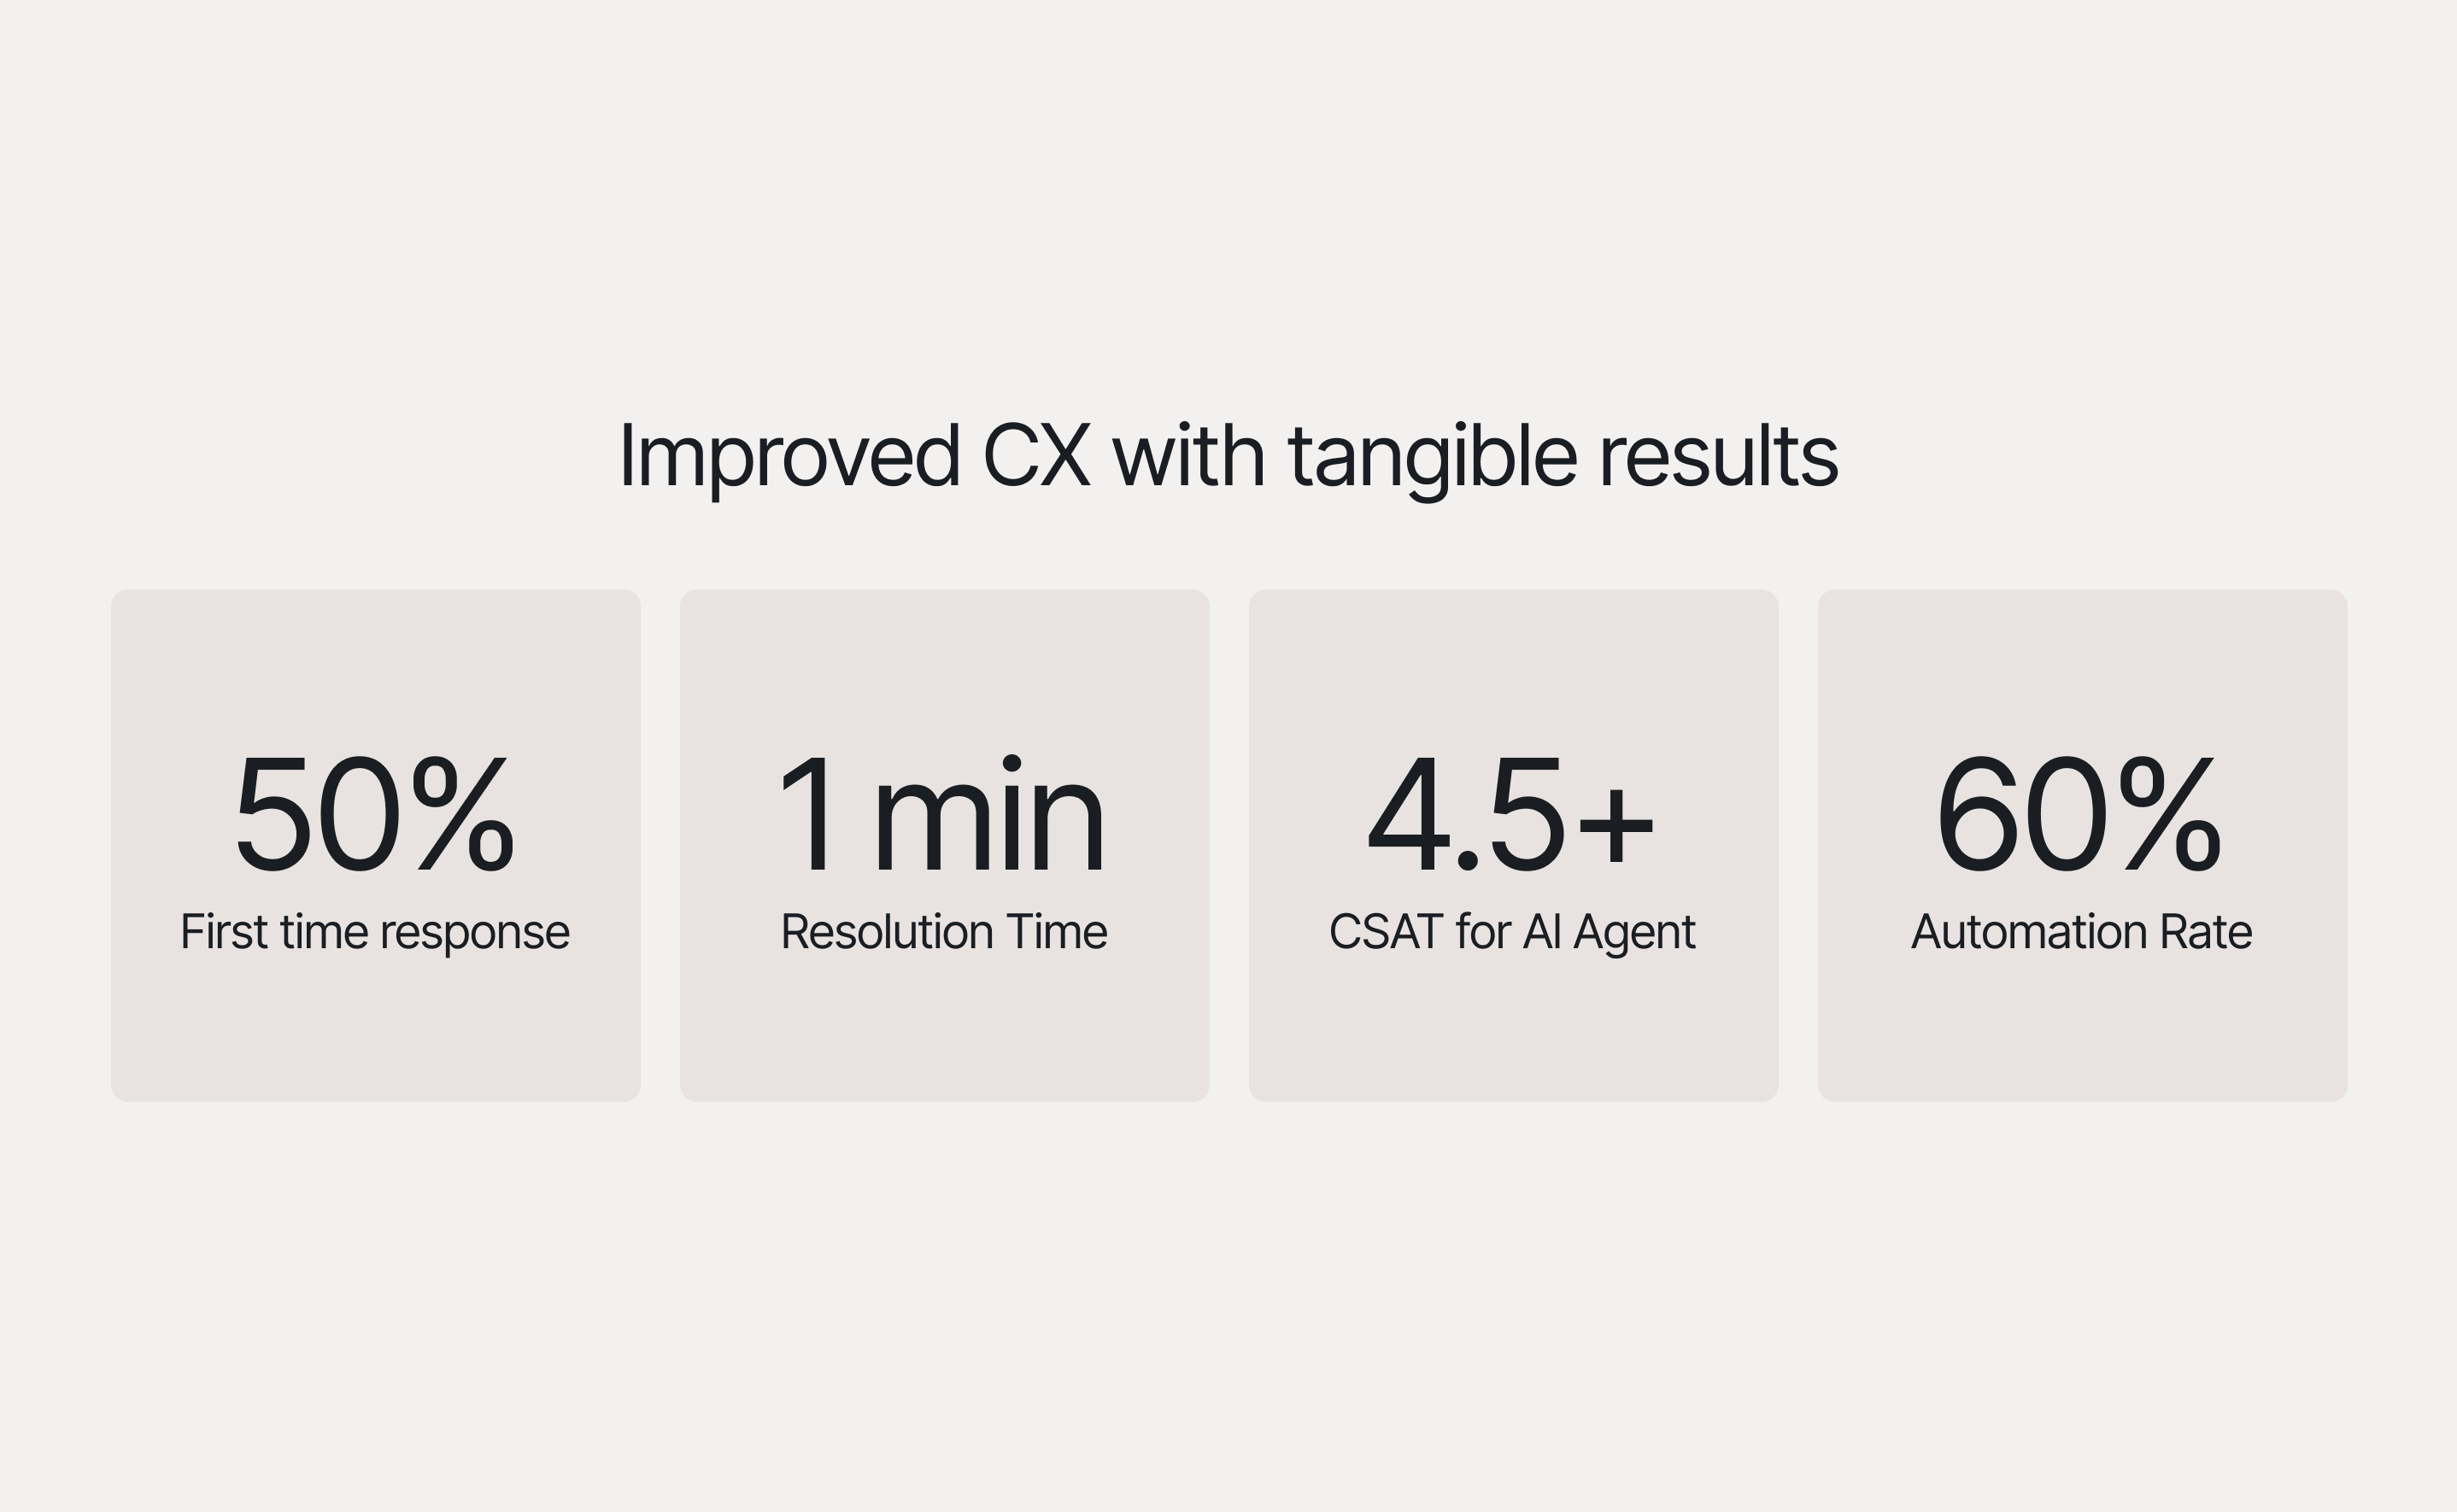
Brands using AI Agent have noticed improvements across the board. AI Agent is consistently a top performer in First Response Time (FRT), Response Time (RT), and Customer Satisfaction Score (CSAT).
➡️ Learn how AI Agent has helped Psycho Bunny and Baby Gold increase automation and improve efficiencies for their teams.
When a new email, Contact Form, or Chat ticket hits your inbox, AI Agent analyzes the ticket to understand if there are relevant instructions and answers in your Macros, Help Center, and Guidance — more on those later.
If AI Agent is confident about the right answer and process, it instantly sends a response and takes the necessary Actions outlined in your instructions. If AI Agent is not 100% confident in the answer, it will escalate the ticket to your human team.
AI Agent will also share the reasoning behind its answer inside the ticket view. You can also provide feedback, continuously improving the AI’s accuracy in future tickets.
Managing AI Agent is like working with a new agent:
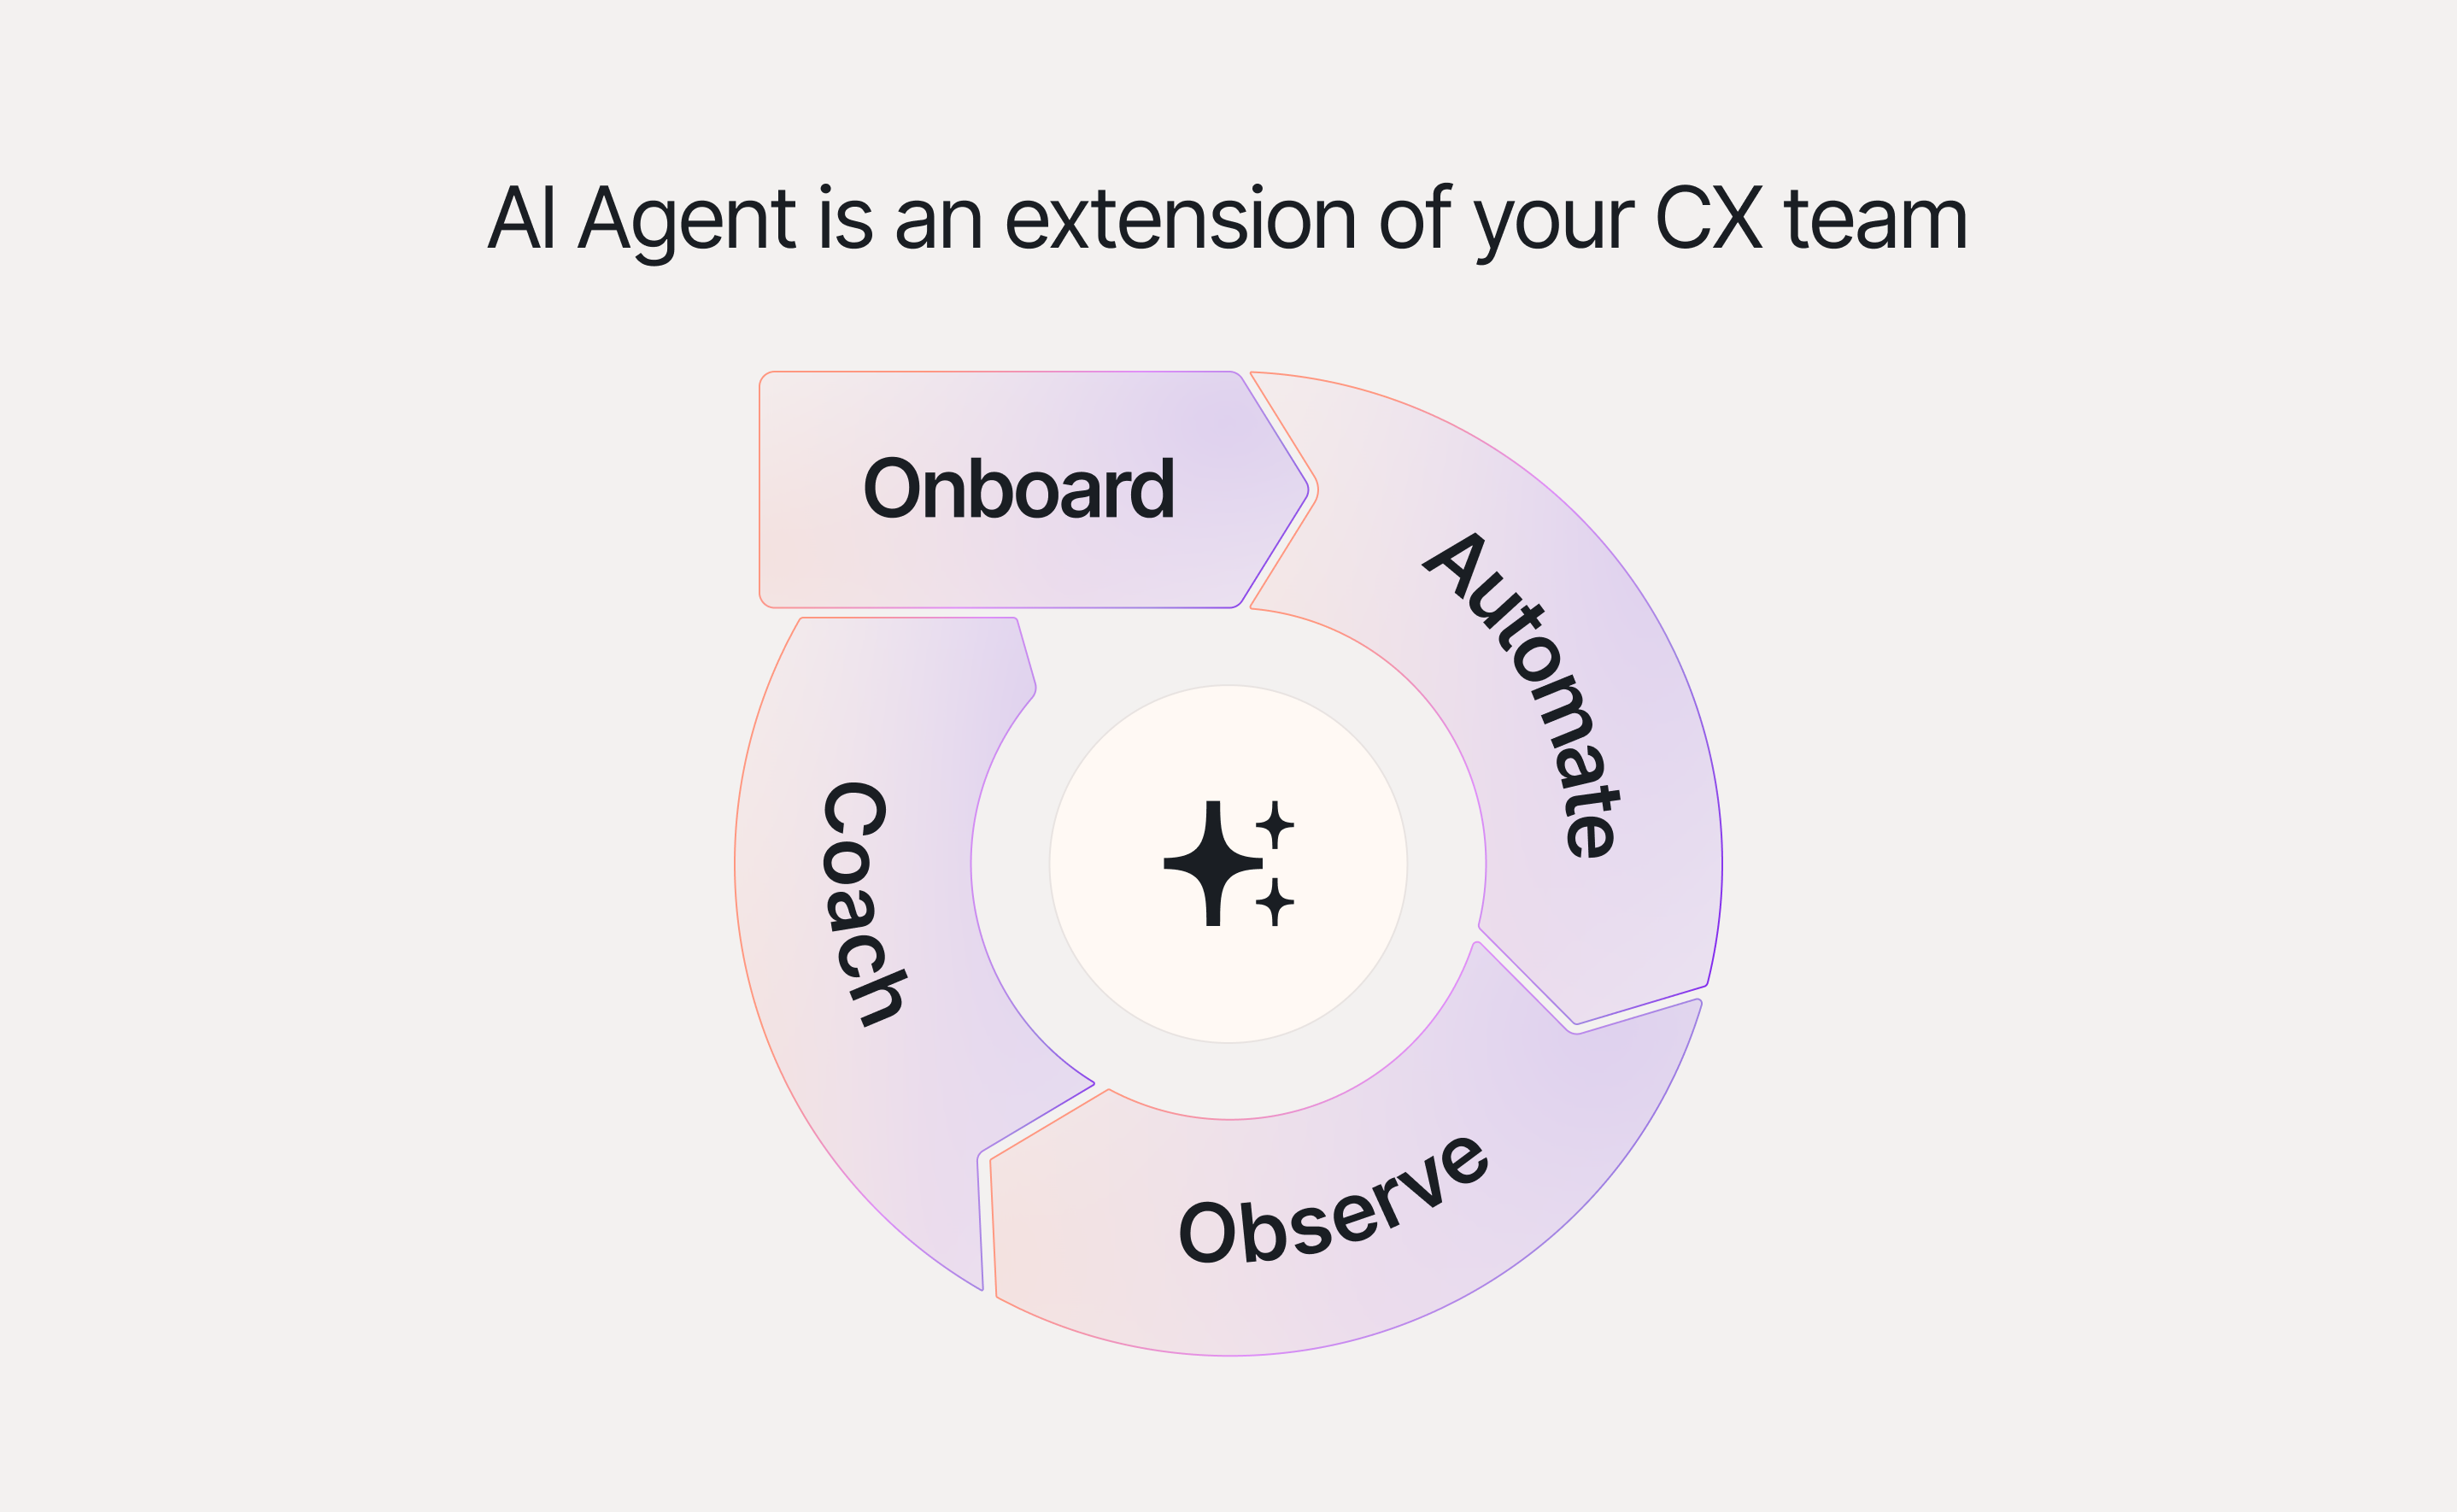
Let’s get started and learn how to Onboard your AI Agent!
To start setting up AI Agent, log into your Gorgias account. Click the AI Agent tab (indicated by the sparkle icon) in the left-hand sidebar. If you have multiple stores connected, start with the AI Agent associated with your highest-volume store.
First, ensure that your Shopify integration is updated before you begin. This is a crucial step for enhancing AI Agent’s performance because it grants access to Shopify fulfilment events, allowing you to address order-related inquiries.
To update your Shopify integration:

➡️ Learn more about how to update your Shopify permissions for AI Agent.
Once your Shopify integration is updated, it’s time to train AI agent on your brand knowledge, from product details and store policies to customer support guidelines.
Follow these steps to equip AI Agent with your knowledge:

Don’t have a Help Center yet? That’s perfectly fine, you’ll be prompted to create one in 3 simple steps.
➡️ Learn more about how to optimize your Help Center for AI Agent.
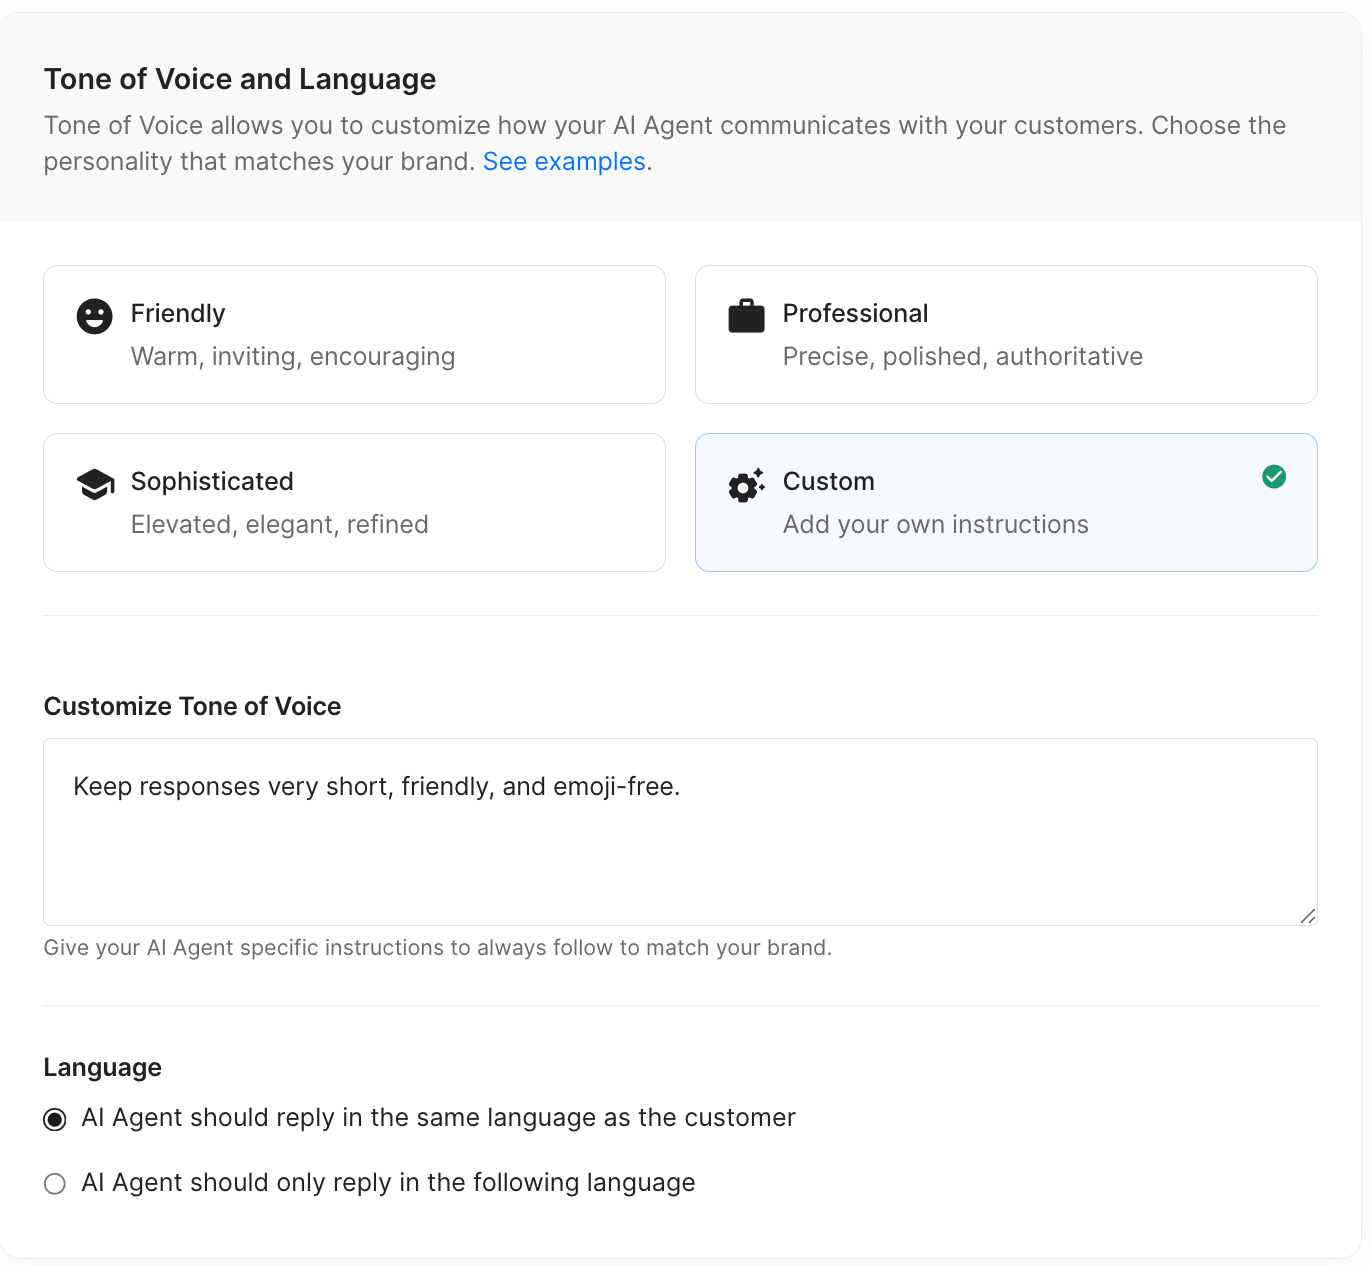
AI Agent is an extension of your team and should speak like a representative of your brand. You can specify the AI Agent’s tone of voice with one of three preset voices (Friendly, Professional, or Sophisticated).
You can also set a custom tone of voice, giving detailed information from your brand style guide, including elements like emoji usage, keywords and phrases to use, and much more.
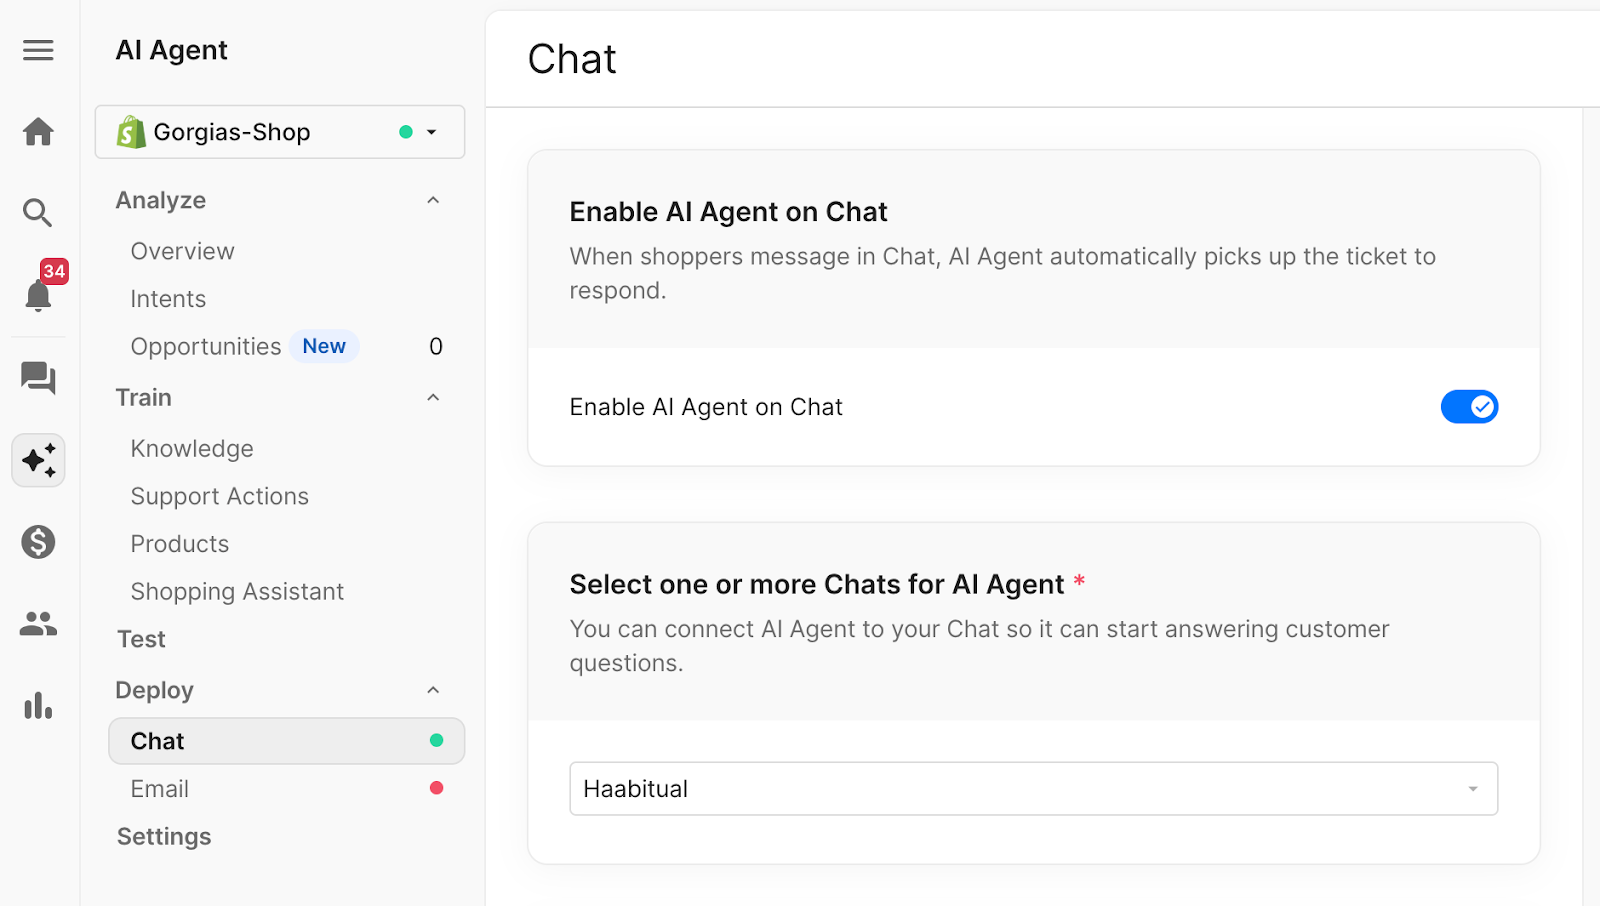
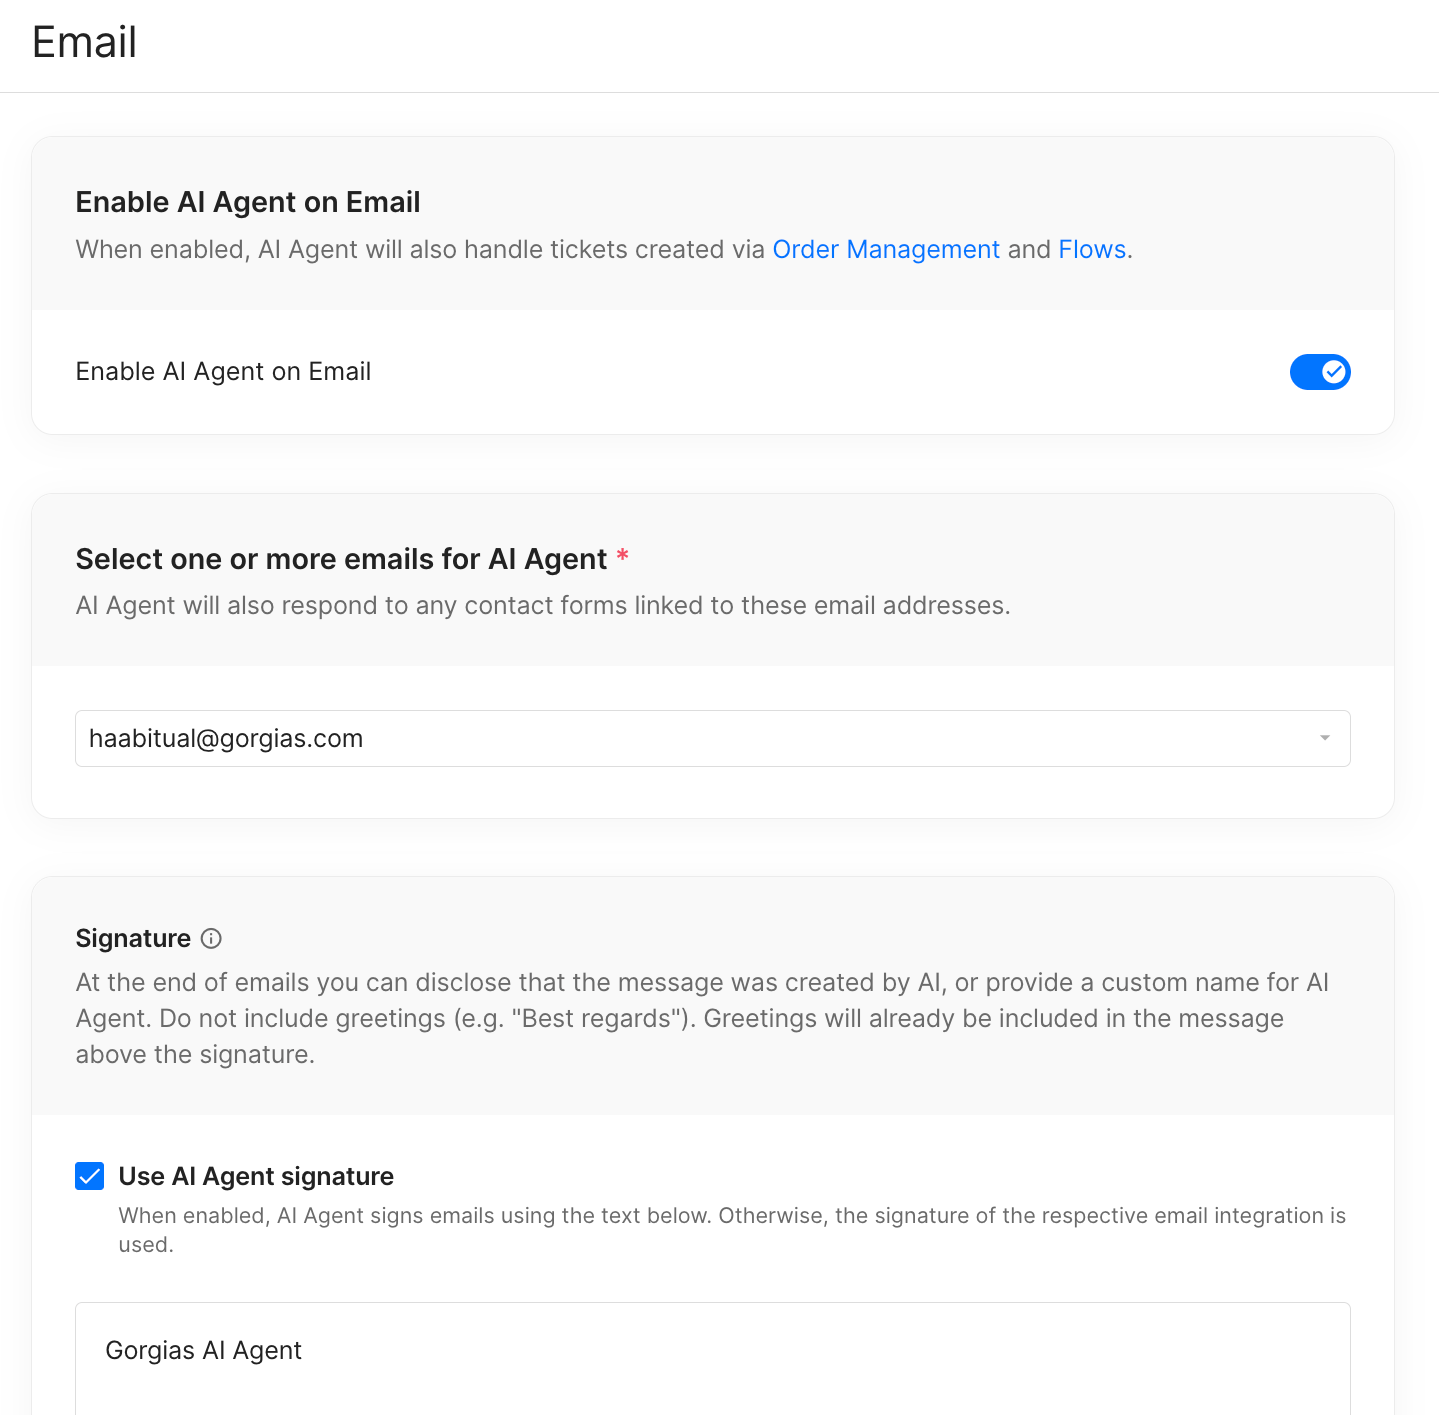
Finally, you can start using AI Agent by enabling it on chat and email. To activate AI Agent, go to Deploy, then click Chat/Email > Enable AI Agent on Chat/Email.
